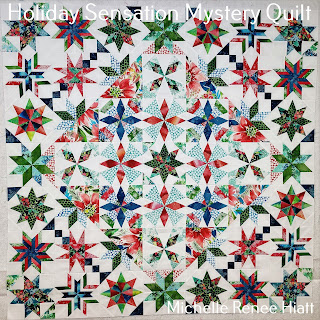
Clue #12 is Starburst Wedge Star and Another Round is Revealed!
We are back to using the Wedge Star ruler to make this fantastic Starburst Wedge Star. We will be making (4) of them and I have some great tips below.
Plus, it is time to put together our B Borders and add them to the Quilt Center!
 |
| Starflower Christmas Version with Round B |
 |
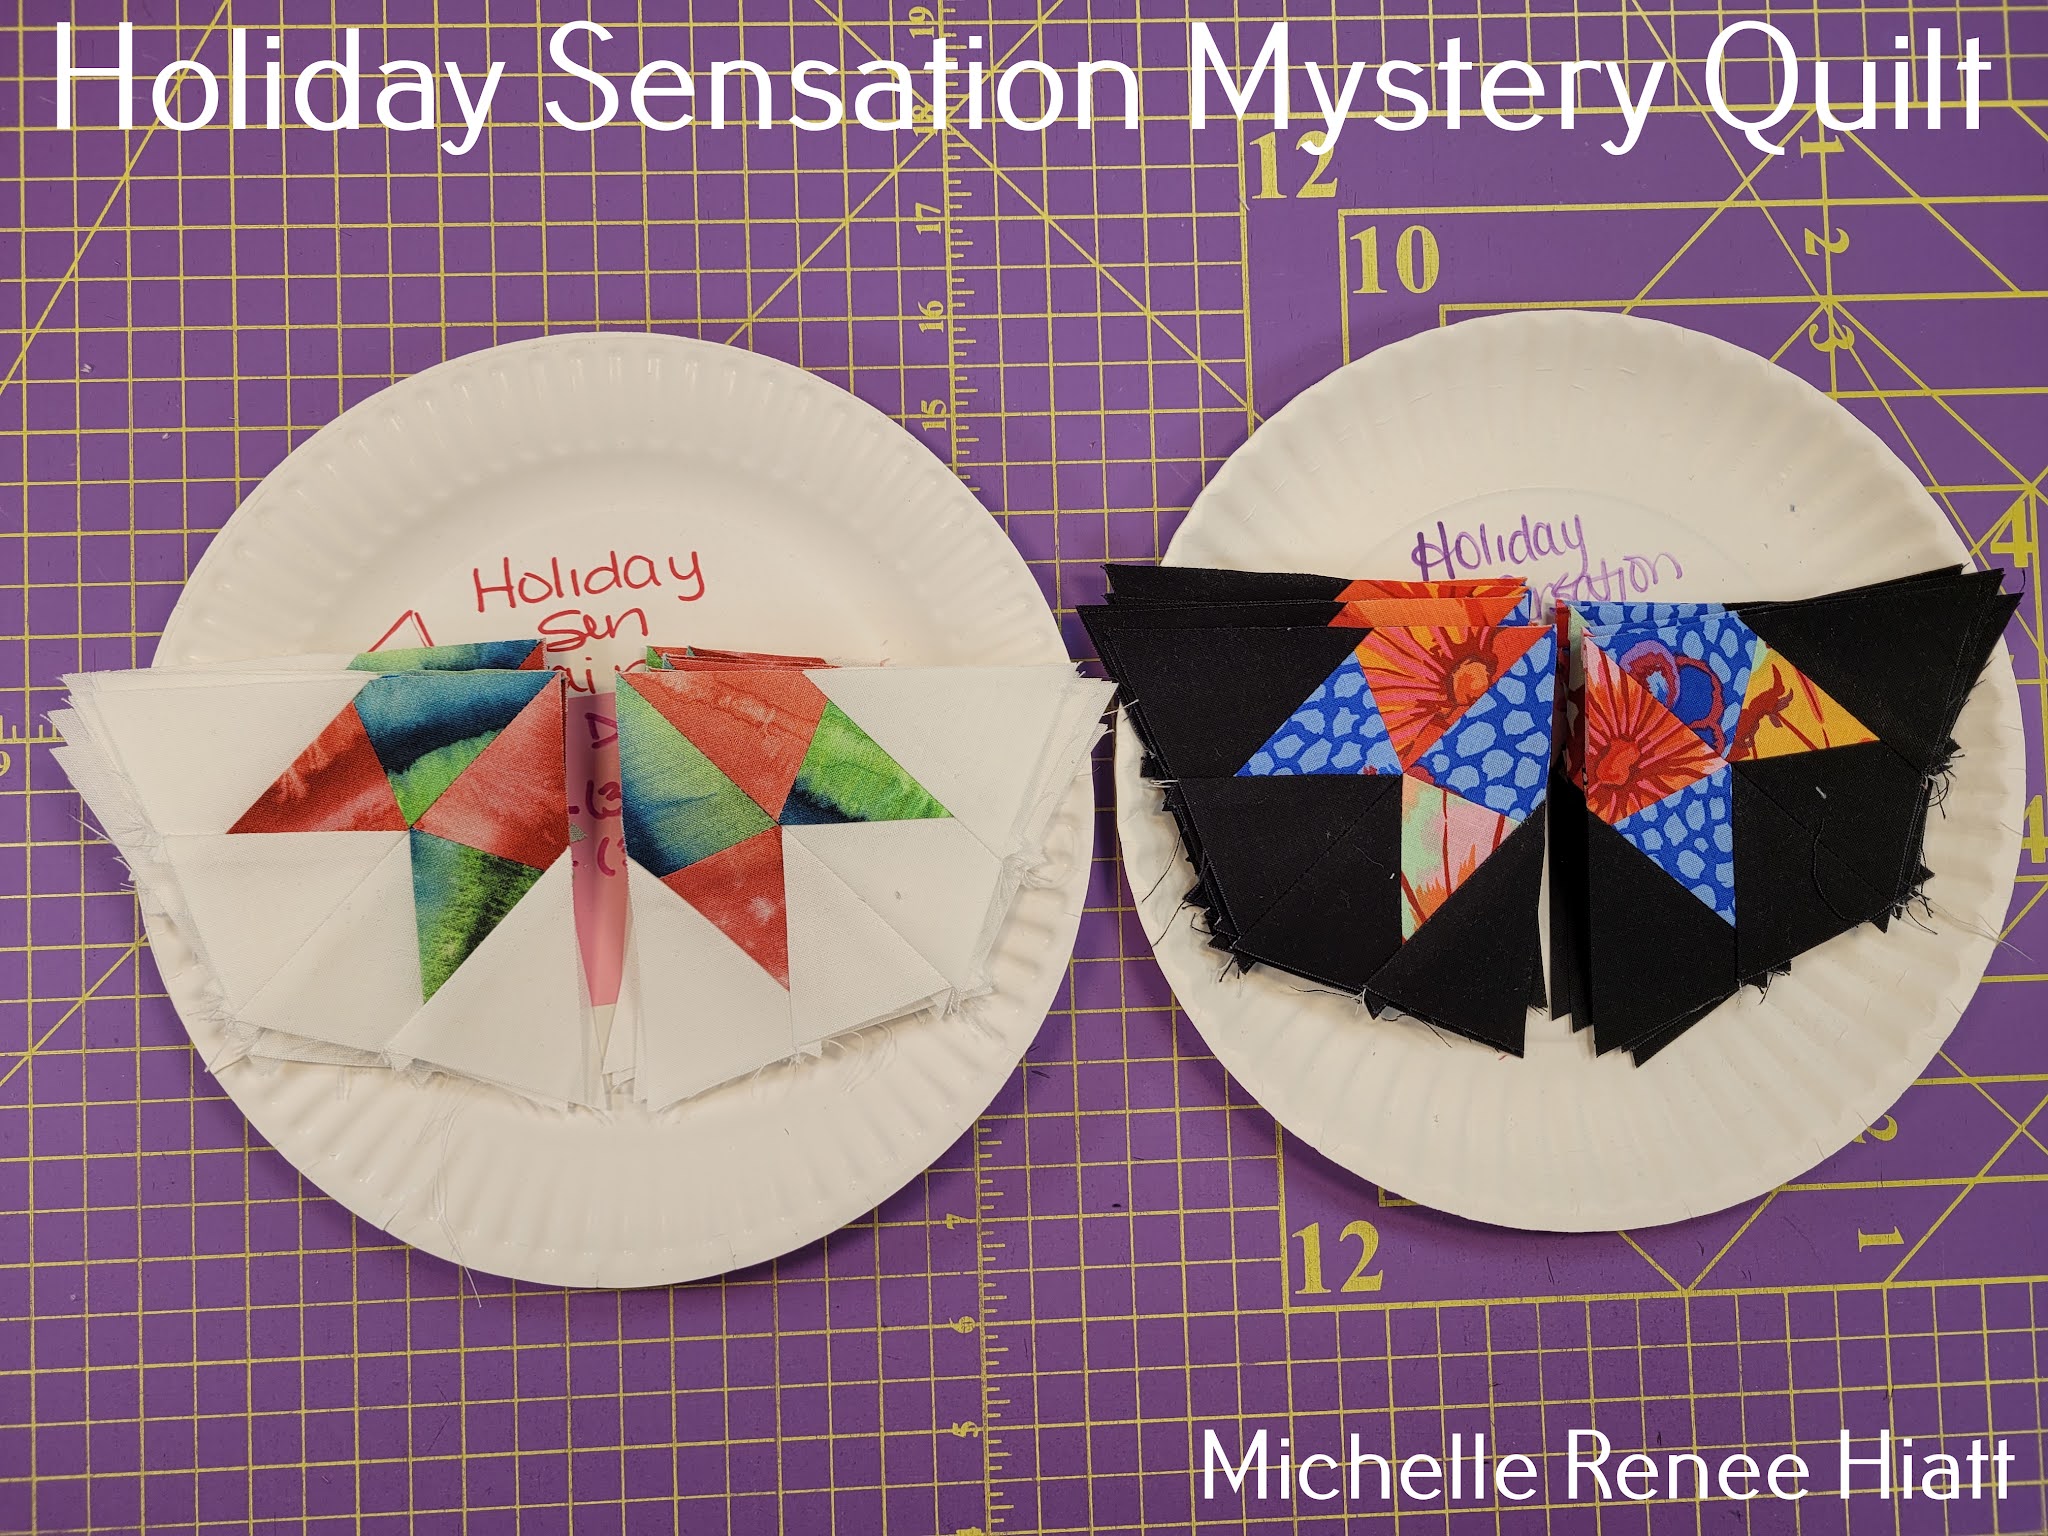
| Curated Kaffe Version with Round B |
Fabric Selection
Let's talk fabric selection, you may be surprised with my fabric selection. I'm going with the variegated for my Starflower Christmas. Note for both selections, I'm using the same dark used in Clues 1 and 6
.
Then a medium scale print for my Medium-Dark and a large floral for my Medium.
Cutting
We are going to cut Small Wedges, to be put together into Half Diamonds.
I did take some time and removed a few that had too much white (Starflower Christmas) and too light green (Kaffe). Since I got 30 Wedges from (2) Strips, I was able to cut a few extra, from the 3rd strip, to replace the ones I thought would present a problem (more detail on this in the Video Lessons if you below to the Clue and Class Membership).
Unit A Tips
Those will be sewn together on the non-blunt side.
Once you have them pressed open, you will need to divide them into two piles and follow the directions to trim them. Take your time.
Trimming the A Diamond.
 |
| Right Handed |
 |
| Left Handed |
Take the time to label, to help keep you straight.
Next, trim the B Diamond.
 |
| Right Handed |
 |
| Left Handed |
Pretty scraps!
Unit B - Time to add the Small Wedges
Next it is time to sew them to the Small Wedge and make the Diamond Wedges.
From here, it is pretty much the same as the other Wedge Blocks,
Remember, these still need a trim down to the proper size.
 |
| Right Handed |
 |
| Left Handed |
Block Construction Tips
Next you want to sew them into pairs.
Remember you need to give a slight trim (very slight- Dog Ears and a hair or two of threads), just enough to get a good 90 degree angle.
 |
| Right Handed |
 |
| Left Handed |
Next sew into Halves.
Take the time to pin.
Halves to Octagon.
Really pin!
Next, we trim the Diamonds going in the corner of the block
Add those Corner Triangles and trim the Block.
 |
| Right Handed |
 |
| Left Handed |
TADA!!! Love, Love, Love this block.
But wait - There is more.
Let's talk B Border Construction!
Well it is time to stitch together our B Borders, you will need (2) Side Border and (2) Top/Bottom Borders. It is very important to construct them as Borders. Then sew them on, being careful with orientation. If you try and lay them out on all four sides, and then sew the blocks together, I guarantee you will be doing some unsewing. It is best to follow my Instructions (written) and on the video (if you have Clue and Class membership).
Sew the Side Borders on then the Top and Bottom. Take your time and triple check orientation. Take time to pin and be careful with the open seams.
TADA - I can't wait to see and hear what you think so far!
Make sure to let me know what you think of the Center so far and this journey. Post in our Facebook group, here or in the Class (Clue and Class Members).
That is it for today, I'm at my last retreat of the year, at the Strong House Inn, so I must get back to the Retreat activities - Sew, create, share, and laughing!
Keep stitching,


 Those will be sewn together on the non-blunt side.
 Once you have them pressed open, you will need to divide them into two piles and follow the directions to trim them. Take your time.
  Trimming the A Diamond.
 Take the time to label, to help keep you straight.
 Next, trim the B Diamond.


 From here, it is pretty much the same as the other Wedge Blocks,


 Remember, these still need a trim down to the proper size.

 Remember you need to give a slight trim (very slight- Dog Ears and a hair or two of threads), just enough to get a good 90 degree angle.
 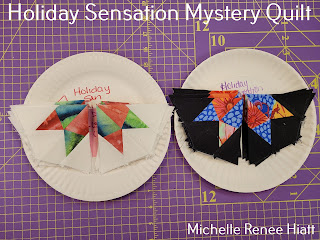 Take the time to pin.
 Halves to Octagon.
 Really pin!
 Next, we trim the Diamonds going in the corner of the block
 Add those Corner Triangles and trim the Block.

 But wait - There is more.


Comments
Post a Comment