Best of the 60s! Clue #14, Group 2 and Billboard Blocks
Yes, you read correctly! We have a lot going on in the Best of the 60s! Clue #14, Group 2 and Billboard Blocks!
Don't stress! I've planned the "One Fine Day" Block, from Clue #2, to repeat on Clue #14, with different fabric. This way, you can be confident that you know how to make the main block for Clue #14 and we can focus on some new things.
Still download Clue #14, as it has some new instructions that pertain to Clue #14. However, if you need detailed help with making the One Fine Day Block, please see the blog post for Clue #2 - One Fine Day.
Then you are going to gather your Block 1 - Dock of the Bay, to create our Group #2
 |
| Clue 14 with Clue 1 Peacock Galore and A Blooming Bunch version |

 |
| Group #2 ~ Peacock Galore |
 |
| Billboard Blocks ~ A Blooming Bunch |
 |
| Billboard Blocks ~ Peacock Galore |
First, lay out the blocks carefully. Note, Dock of the Bay has a "top" and "bottom", so it is important to make sure you lay that out correctly.
Okay, now for the Billboard Blocks. Take your time with these. You will be using remnants.

 |
| Groups 2A and 2 B |
 |
| Make sure to see it, flip it, and precision pin it. Group 2A - Joining position 3 to 2 |
 |
| Make sure to see it, flip it, and precision pin it. Group 2B - Joining position 3 to 2 |
 |
| Then for 2A, position 3/2 with position 1 |
 |
| Repeat for 2B, position 3/2 with position 1 |
 |
| Tada! A Blooming Bunch! |
 |
| Tada! Peacock Galore |
Okay, now for the Billboard Blocks. Take your time with these. You will be using remnants.
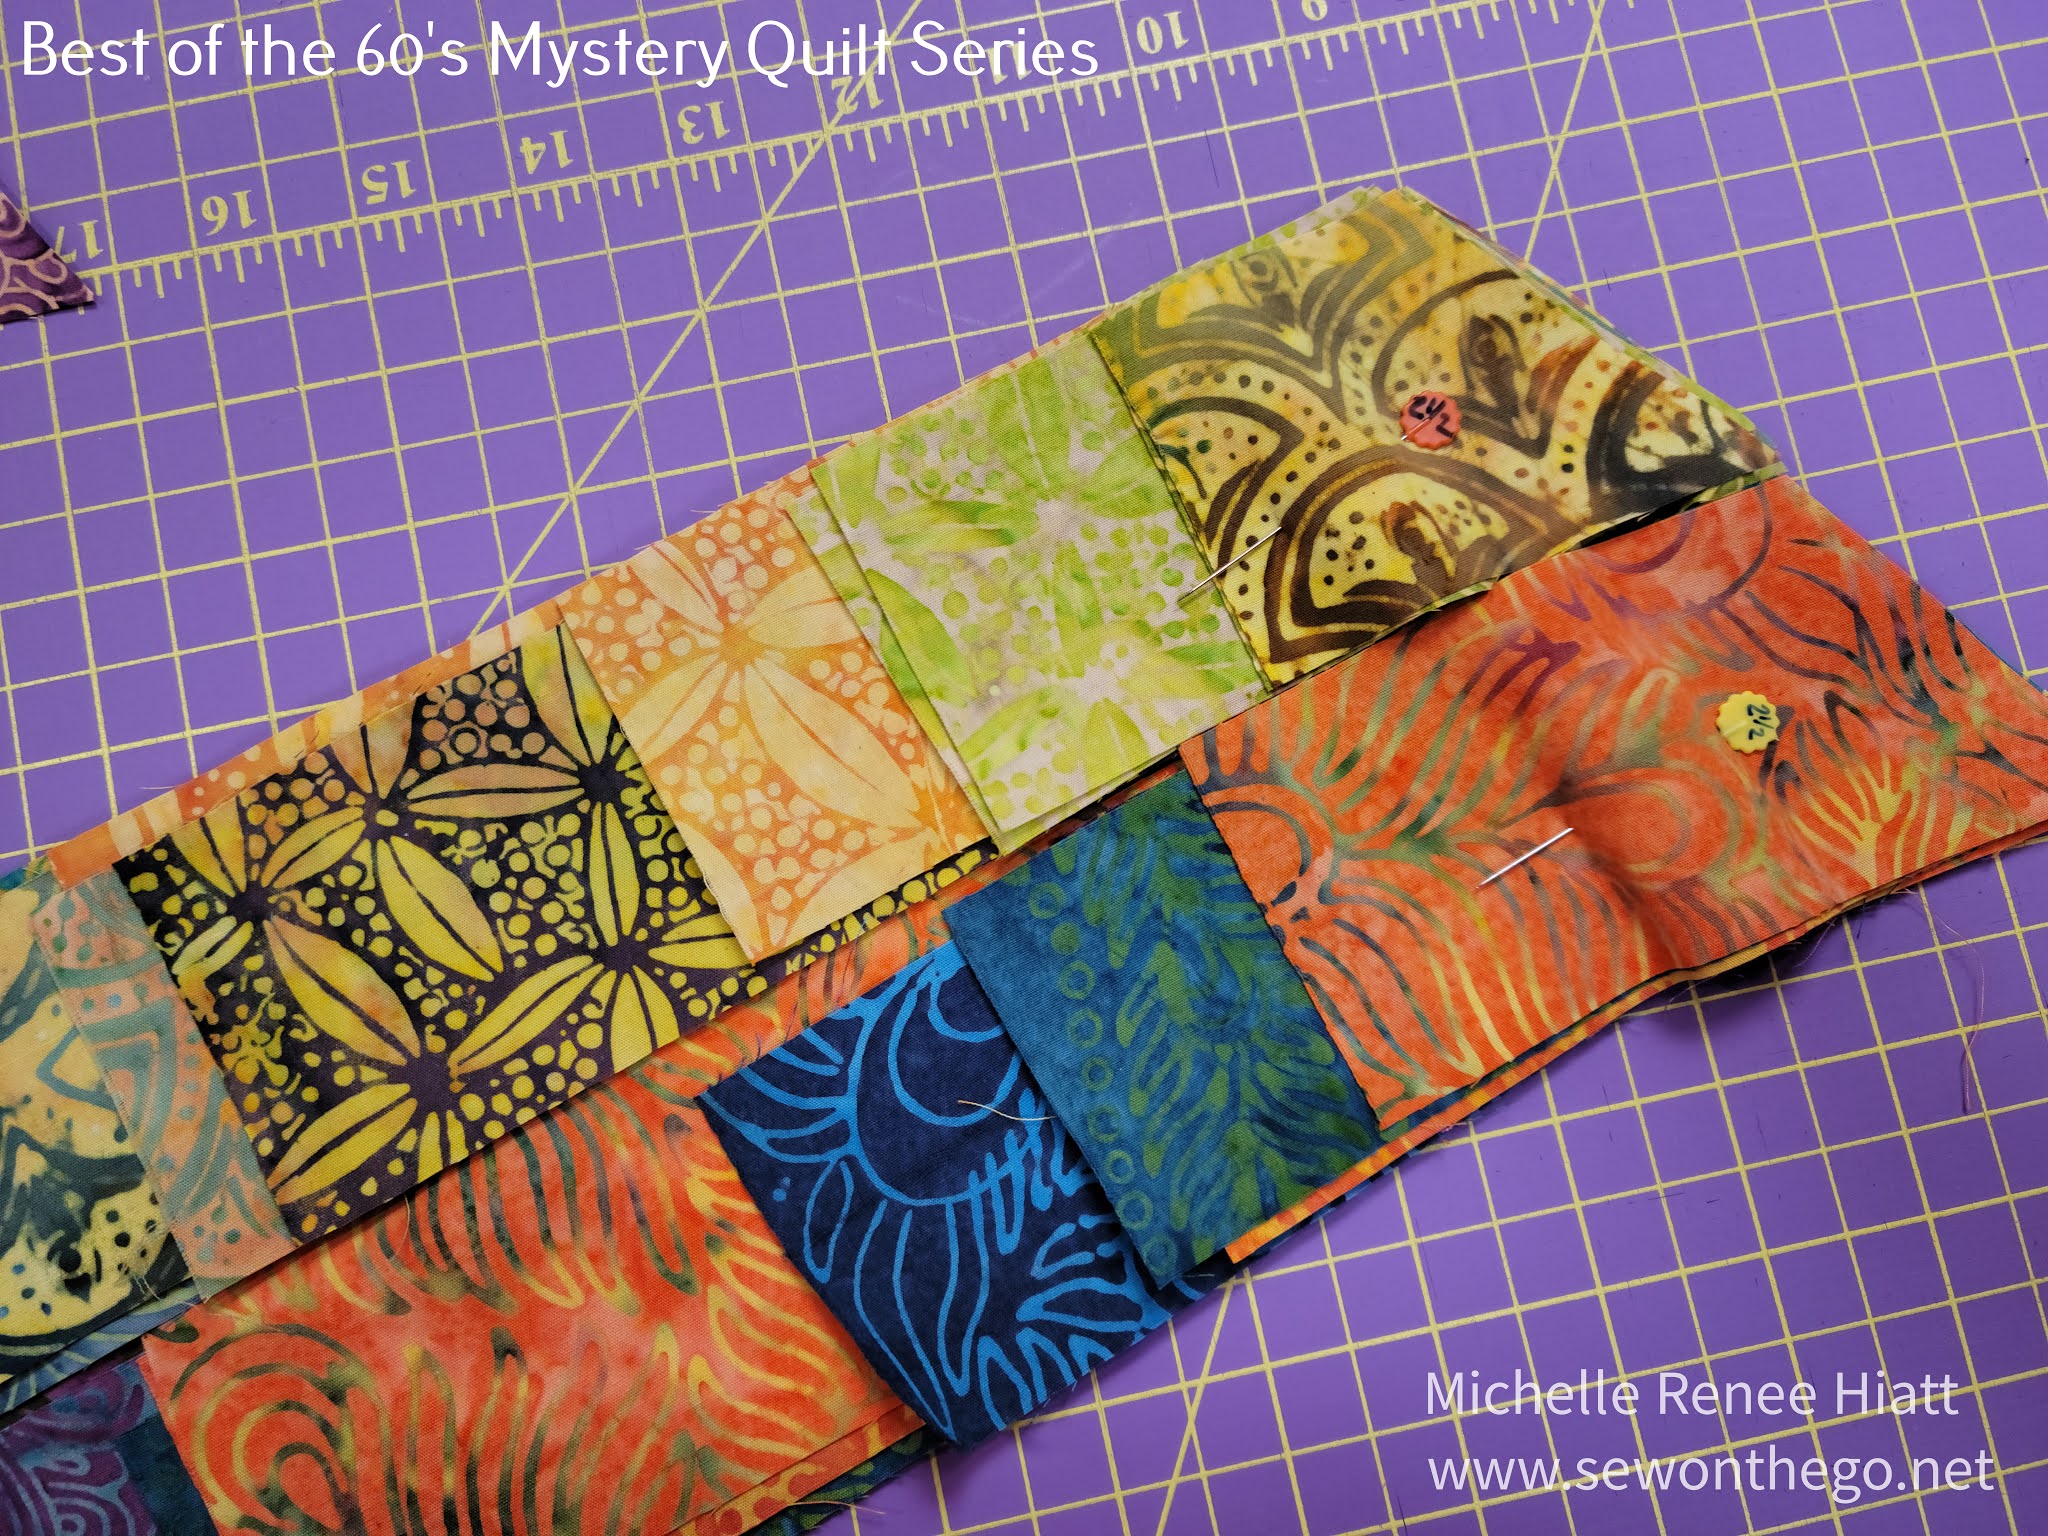
First thing you want to do is organize your remnants by lighter and darker.
 |
| Peacock Galore fabric split. |
 |
| We have 4 Units, one is a Companion Triangle so not a big deal. However we are creating mirror images for Unit B, so be careful and following instructions carefully. |
 |
| Once constructed, be careful to label and cut the proper side. Note: Half the C units get trimmed on one side while the other half gets the other side. |
 |
| You are going to need to triple check your orientation and that you select the proper units. You are again, making mirror images. |

 |
| Pay close attention trimming down - Right Handed |
 |
| Pay close attention trimming down - Left Handed |
 |
| Other diamond - Pay close attention trimming down - Right Handed |
 |
| Other Diamond - Pay close attention trimming down - Left Handed |
 |
| There is no top to constructed, just the bottom and you may find it helps to mark your 1/4" on your D Unit. |
 |
| Lay it out, check that you are happy with both layouts. Then stitch. |
 |
| When you finish pressing make sure you are once again happy with your pairings. |
 |
| Pin and stitch. |
 |
| Next comes the full block. |
 |
| Treat it just like a big 2-Patch, put the pieced Half Hexagon on top. |
 |
| Trim down - Right Handed |
 |
| Trim down - Right Handed |
 |
| Trim down - Left Handed |
 |
| Trim down - Left Handed |
 |
| Tada - Do not sew together - just for the photo! A Blooming Bunch |
 |
| Peacock Galore - Oh I just love the colors! |
That is it for this week... what not enough. LOL! I can't wait to see your blocks.
Keep Stitching,
Michelle


Comments
Post a Comment