Clue #5 is ready! This is one of my top 5 blocks in the series, I love it. Oh, Pretty Woman!
We will be revisiting lessons learned over the last four weeks, plus learning a marking technique that will help you bring together this block seamlessly!
 |
| Best of the 60's Oh, Pretty Woman! |
Fabric Selection
Here are my fabric selections for this week. The Light-Medium placement is a great place to use one of your lighter fabrics as it is pretty much surrounded by Medium Dark fabric. Therefore, there are a few places it actually touches your Background fabric.
Organization -As it is the New Year (Happy New Year!), I thought it would be good to provide a tip on organization. I am a "printer". I do not like to view my instructions online. I need to have them printed out, so I store them in a Binder. I purchased numbered tab 1-24 to keep everything nice and neat.
It is very important that you save all the remnants and keep them nice and neat, ideally with the strip side identified.
Units Unit A is a 4-Patch Triangle, we've made recently, so you should be pretty comfortable with these units.
Just be very careful with your quarter inch seam. Make sure you are checking it.
Unit B - 2-Patch Triangle. Again, you've made a good number of these, quarter inch seam is key!
Measure it.
Unit C - Diamond Triangle. It has been a few weeks, so let me give you a couple reminders on this unit.
 |
| See it! |
 |
| Flip it and line up the Diamond with the blunt top of the Side Triangle. |
 |
| Be very careful pressing, making sure not to stretch. |
 |
| Trim the dog ears. |
 |
| See it, flip it, line up, and sew it keeping the Diamond on top. Sew with your best 1/4" seam. |
 |
| Be careful pressing, make sure to finger press. |
 |
| Then press. |
 |
| Give it a nice mist of Best Press. |
Unit D - Companion Triangle
Trim Down Reminders |
| Right Handed - Take your time with trimming down. Measure twice, cut carefully. |
 |
| Left Handed - Take your time with trimming down. Measure twice, cut carefully. |
 |
| Keep everything labeled |
Constructing the Top of the Block |
| Start with the top, see it, flip it, sew it with the A unit on top. |
 |
| Right Handed - Trim down - Be careful. Line up all the points before your cut. |
 |
| Right Handed - e careful. Line up all the points before your cut. |
 |
| Lay out the top |
 |
| Precision point all the key points using the double pinning method. |
 |
| Just trim the one dog ear. |
 |
| Line up key points and precision pin. |
 |
| Tada! How nice does that look! |
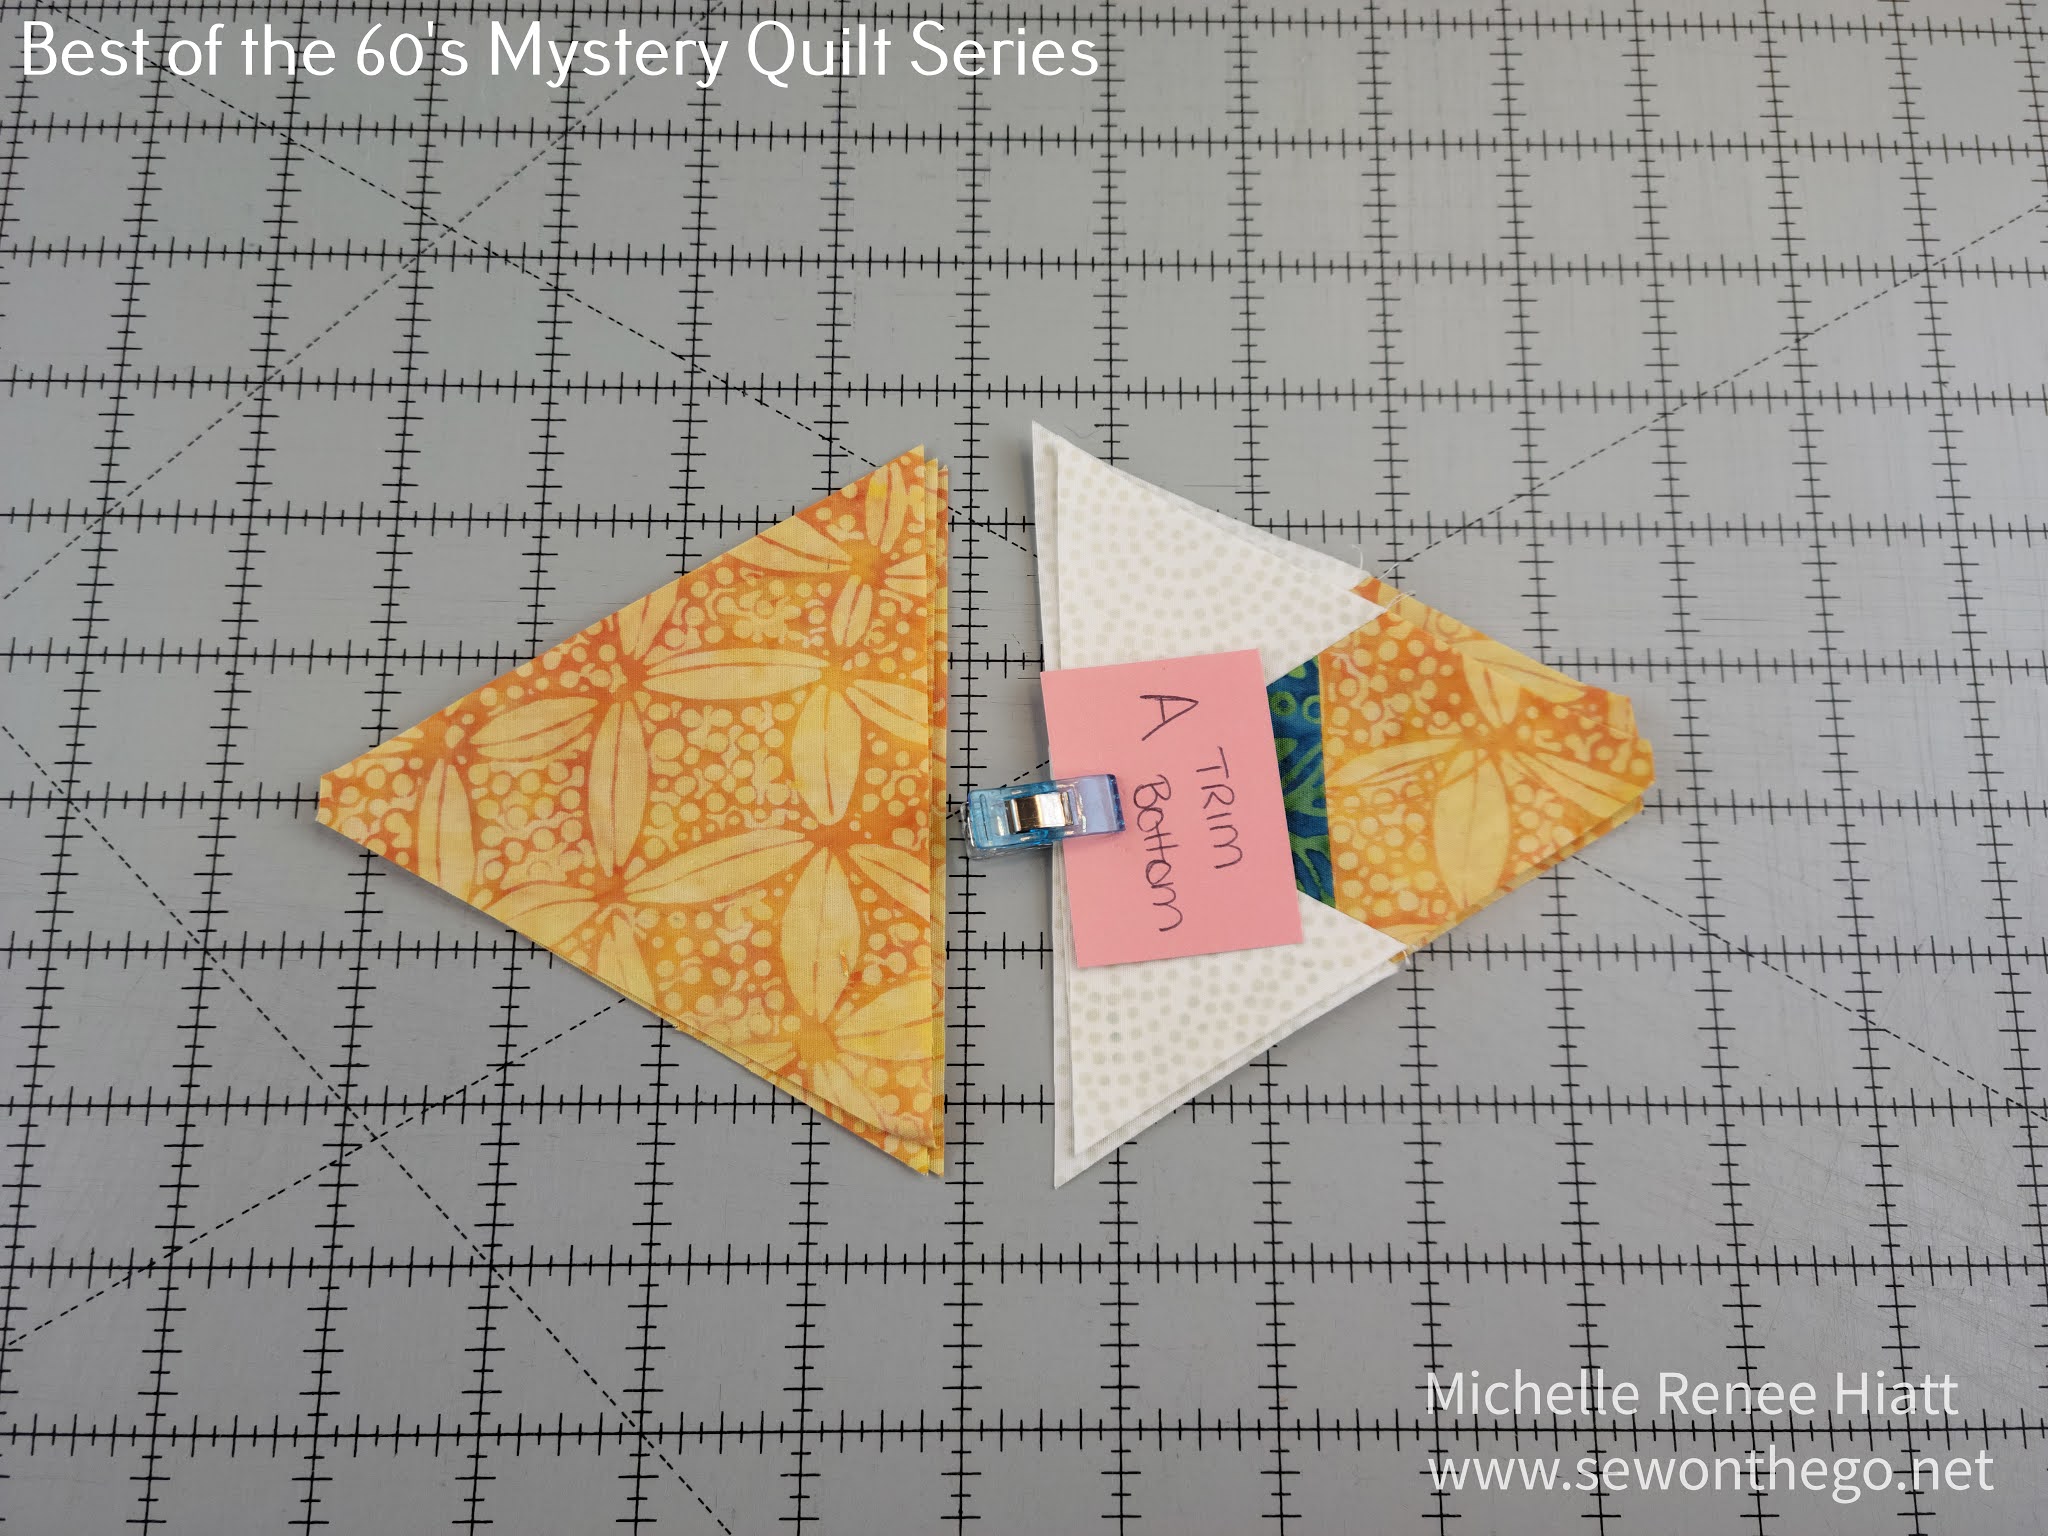
Constructing the Bottom |
| When you line up all the key points, make sure your seams are hitting the correct points at this step. If they do not, it is most likely your quarter inch seam. |
Constructing the Bottom of the BlockNEW! Marking your units is needed for a perfect seam.
 |
| Lay out your units. |
 |
| When you flip your unit, you will notice that you do not have any seam intersections to line up. |
 |
| Therefore, we need to mark a 1/4" seam intersection on each of the seams we are sewing together. |
 |
| This will allow us to precision pin. |
 |
| Double pin as you usually do and stitch carefully. |
 |
| Trim the one dog ear. |
 |
| Line up the next side with the dog ear and again by drawing the 1/4" seam line and precision pinning. |
Final Seam |
| Lay out the Block |
 |
| You need to mark those 1/4" seams on the bottom unit |
 |
| You will use those marks along with the points on the top unit to precision pin. |
Final Trim-down |
| Take you time in lining up all the key points. |
 |
| Left Handed - Trim that final side. |
 |
| Right Handed - Trim that final side. |
TADA! |
| My Blooming Bunch version of Oh, Pretty Woman |
 |
| My Peacock Galore version of Oh, Pretty Woman. |
I hope you are all enjoying the Holiday and are doing well. I can't wait to see your blocks in the Facebook Group!
Keep stitching,
Michelle


Comments
Post a Comment