Welcome to Holiday Solstice Week #5! I can't believe we are here already, it is so exciting.
This week's block is fairly easy, especially after last week's block. You will be using two of the same techniques from last week to make Block #5, Go Jingle By.
 |
| Block #5 Go Jingle By ~ Christmas Fig II |
 |
| Block #5 Go Jingle By ~ Sun Prints 2020 |
Last week, everyone did a great job, it was a tough block due to the number of techniques and you had to have a good quarter inch.
I do want to challenge you to be more careful with your pressing. If your block has "ripples" you want to consider improving your pressing skills. Pressing can really take your blocks to another level so I'm going to cover that today. So please check out the tips below. It will be especially important for the next step.
Plus, we are going to put the center of our Medallion quilt together! Yep, that is right, I'm revealing the quilt center.
 |
| Center of Medallion Quilt ~ Christmas Fig II |
 |
| Center of Medallion Quilt ~ Sun Prints 2020 |
So, I want to get started. I have one request. I'm not sure why so many of you don't read the blog, but please do. Each week, I see posts with questions or I received text and messages from people, who don't check the blog. It is apparent that people aren't reading the blog, because if they did. it would have answered their question. There are hours that going into this post each week, to help you with your block. Please read it. It will help you. Don't be surprised if I just respond, "please read the Blog". As I've already taken the time to give you the answer, here, on the blog. You will get the details in the Download, but the Blog is here to help you future.
Sale in my Shop - This weekend only - Today through Sunday, July 5th
You must purchase $50 in product, any product on the site and use the Coupon Code FREEDOM15. Maybe you want to pick up some more tools, or storage items. Check out how I store my Fabric and Blocks for my Holiday Solstice sets. These are the See Your Stuff Bags - Large. LOVE THEM! You could purchase some!
Tips - On Block 5 - Go Jingle By
The techniques are a repeat of last week, so be sure to check out last week's blog post if you need any reminders.
My biggest tip for this week's block is double check your orientation before you sew. Check the blog or the diagrams before sewing. It is very easy to turn these units around.
 |
Make the Large 4-Patch first, double checking the orientation of your small Four-Patch Units
|
 |
| When you lay out the block be sure to double check the Large 4-Patch, ensuring you have your 4-Patch units moving in the right direction. |
Tips for Medallion Center - PIN and PRESSING will make a difference!
Remember details are in the Download, but please read these tips, they are not in the clue as they need pictures to help you best.
 |
Make sure to pull the right blocks and lay out properly
|
 |
| Take a photo and look at the photo |
Sew into rows. You will want to precision pin to make sure you line up the center points.
 |
When stitching Through the Woods Block with the Featured Ting-a-ling-ling Block you will want to put a pin through their matching points.
|
 |
Put the pin straight through the back cross seam of Ting-a-ling-ling and then through point in Through the Woods. Keep the pin straight
|
 |
Next, put to pins besides the straight pin
|
 |
Then pull out the straight pin
|
 |
Leaving the two pins. This will keep it together and you will be able to clearly see the cross seam when sewing.
Left hand pinning (which you righties know you can do) will help you keep the pins in longer. Using the long Quilter's Fine Pin will help.
Remove the pins before you sew over them - You do not want to damage your machine. |
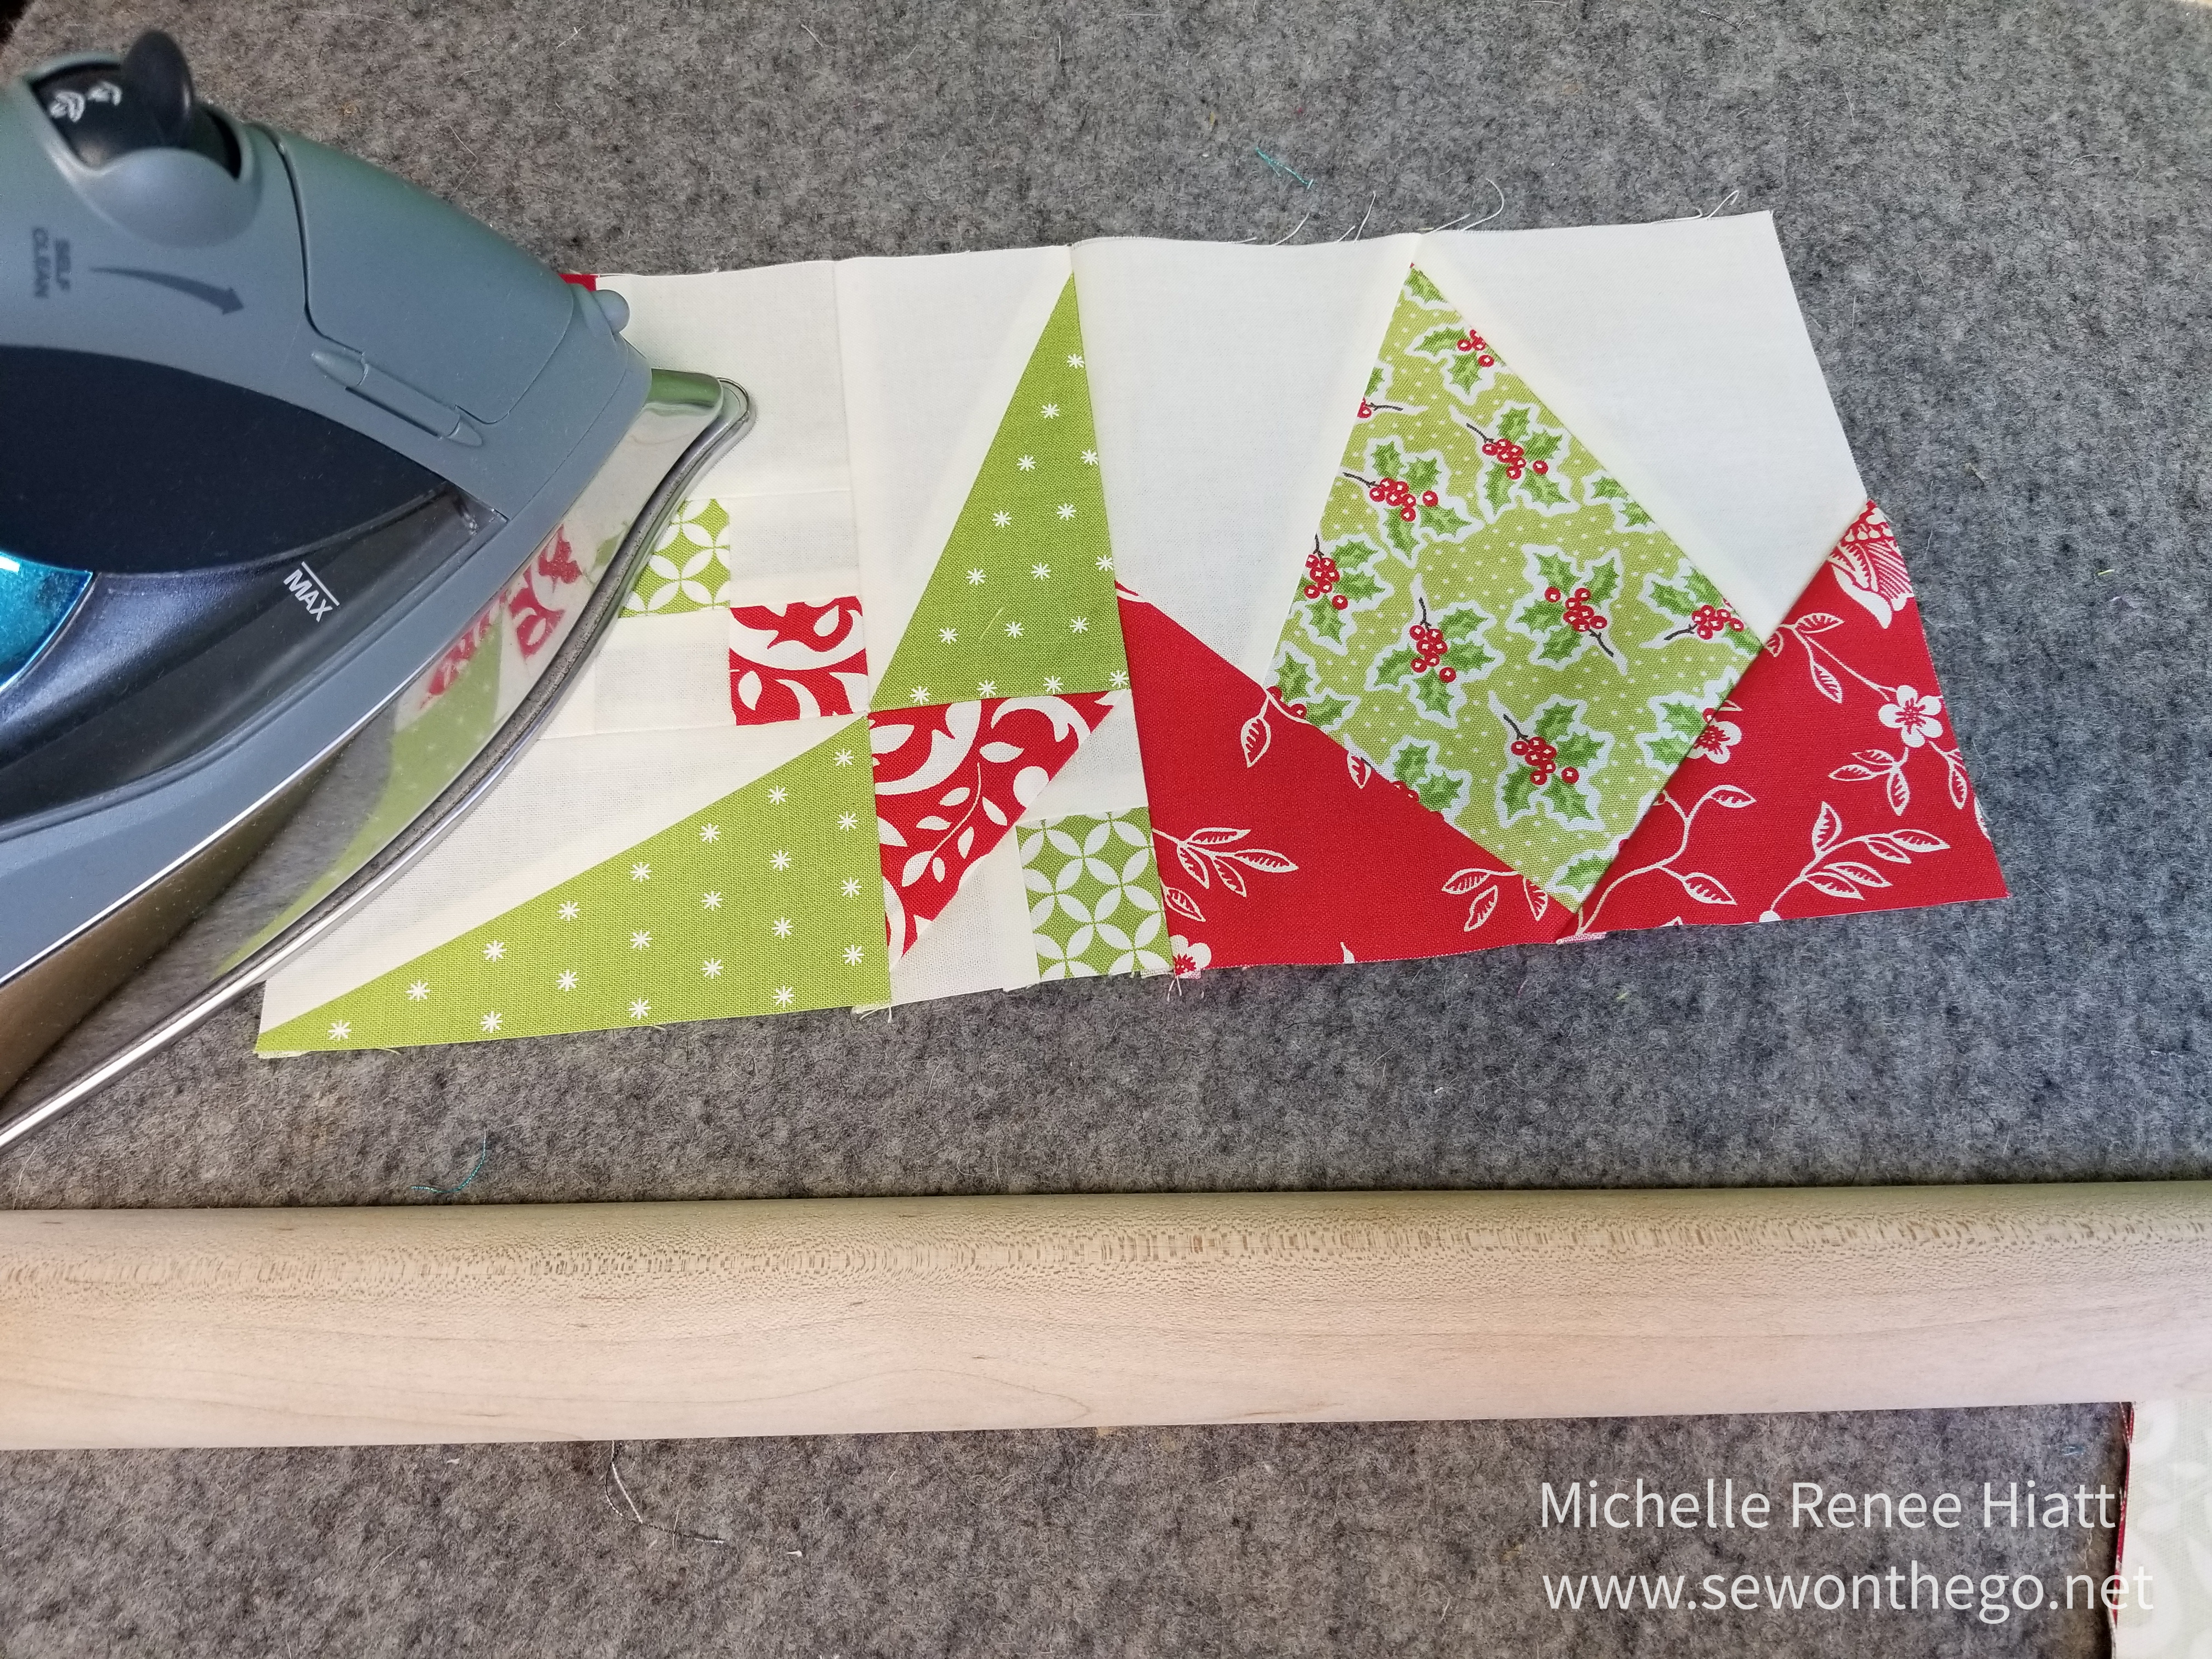
PROPER PRESSING - VERY IMPORTANT
Take the time to press well and invest in the tools that will help you. At minimum a Seam Stick is needed. Ideally, you will have a mister with Best Press and a good iron. A Wool Mat is fantastic, definitely an investment but it will make a difference.  |
| Invest in the tools that work |
 |
Set your seam - Very important! This drops the threads into the fabric, it will give you a flatter seam and also "lock it in".
|
 |
Place over the Seam Stick
|
 |
Finger press - VERY important. This will make a world of difference.
|
 |
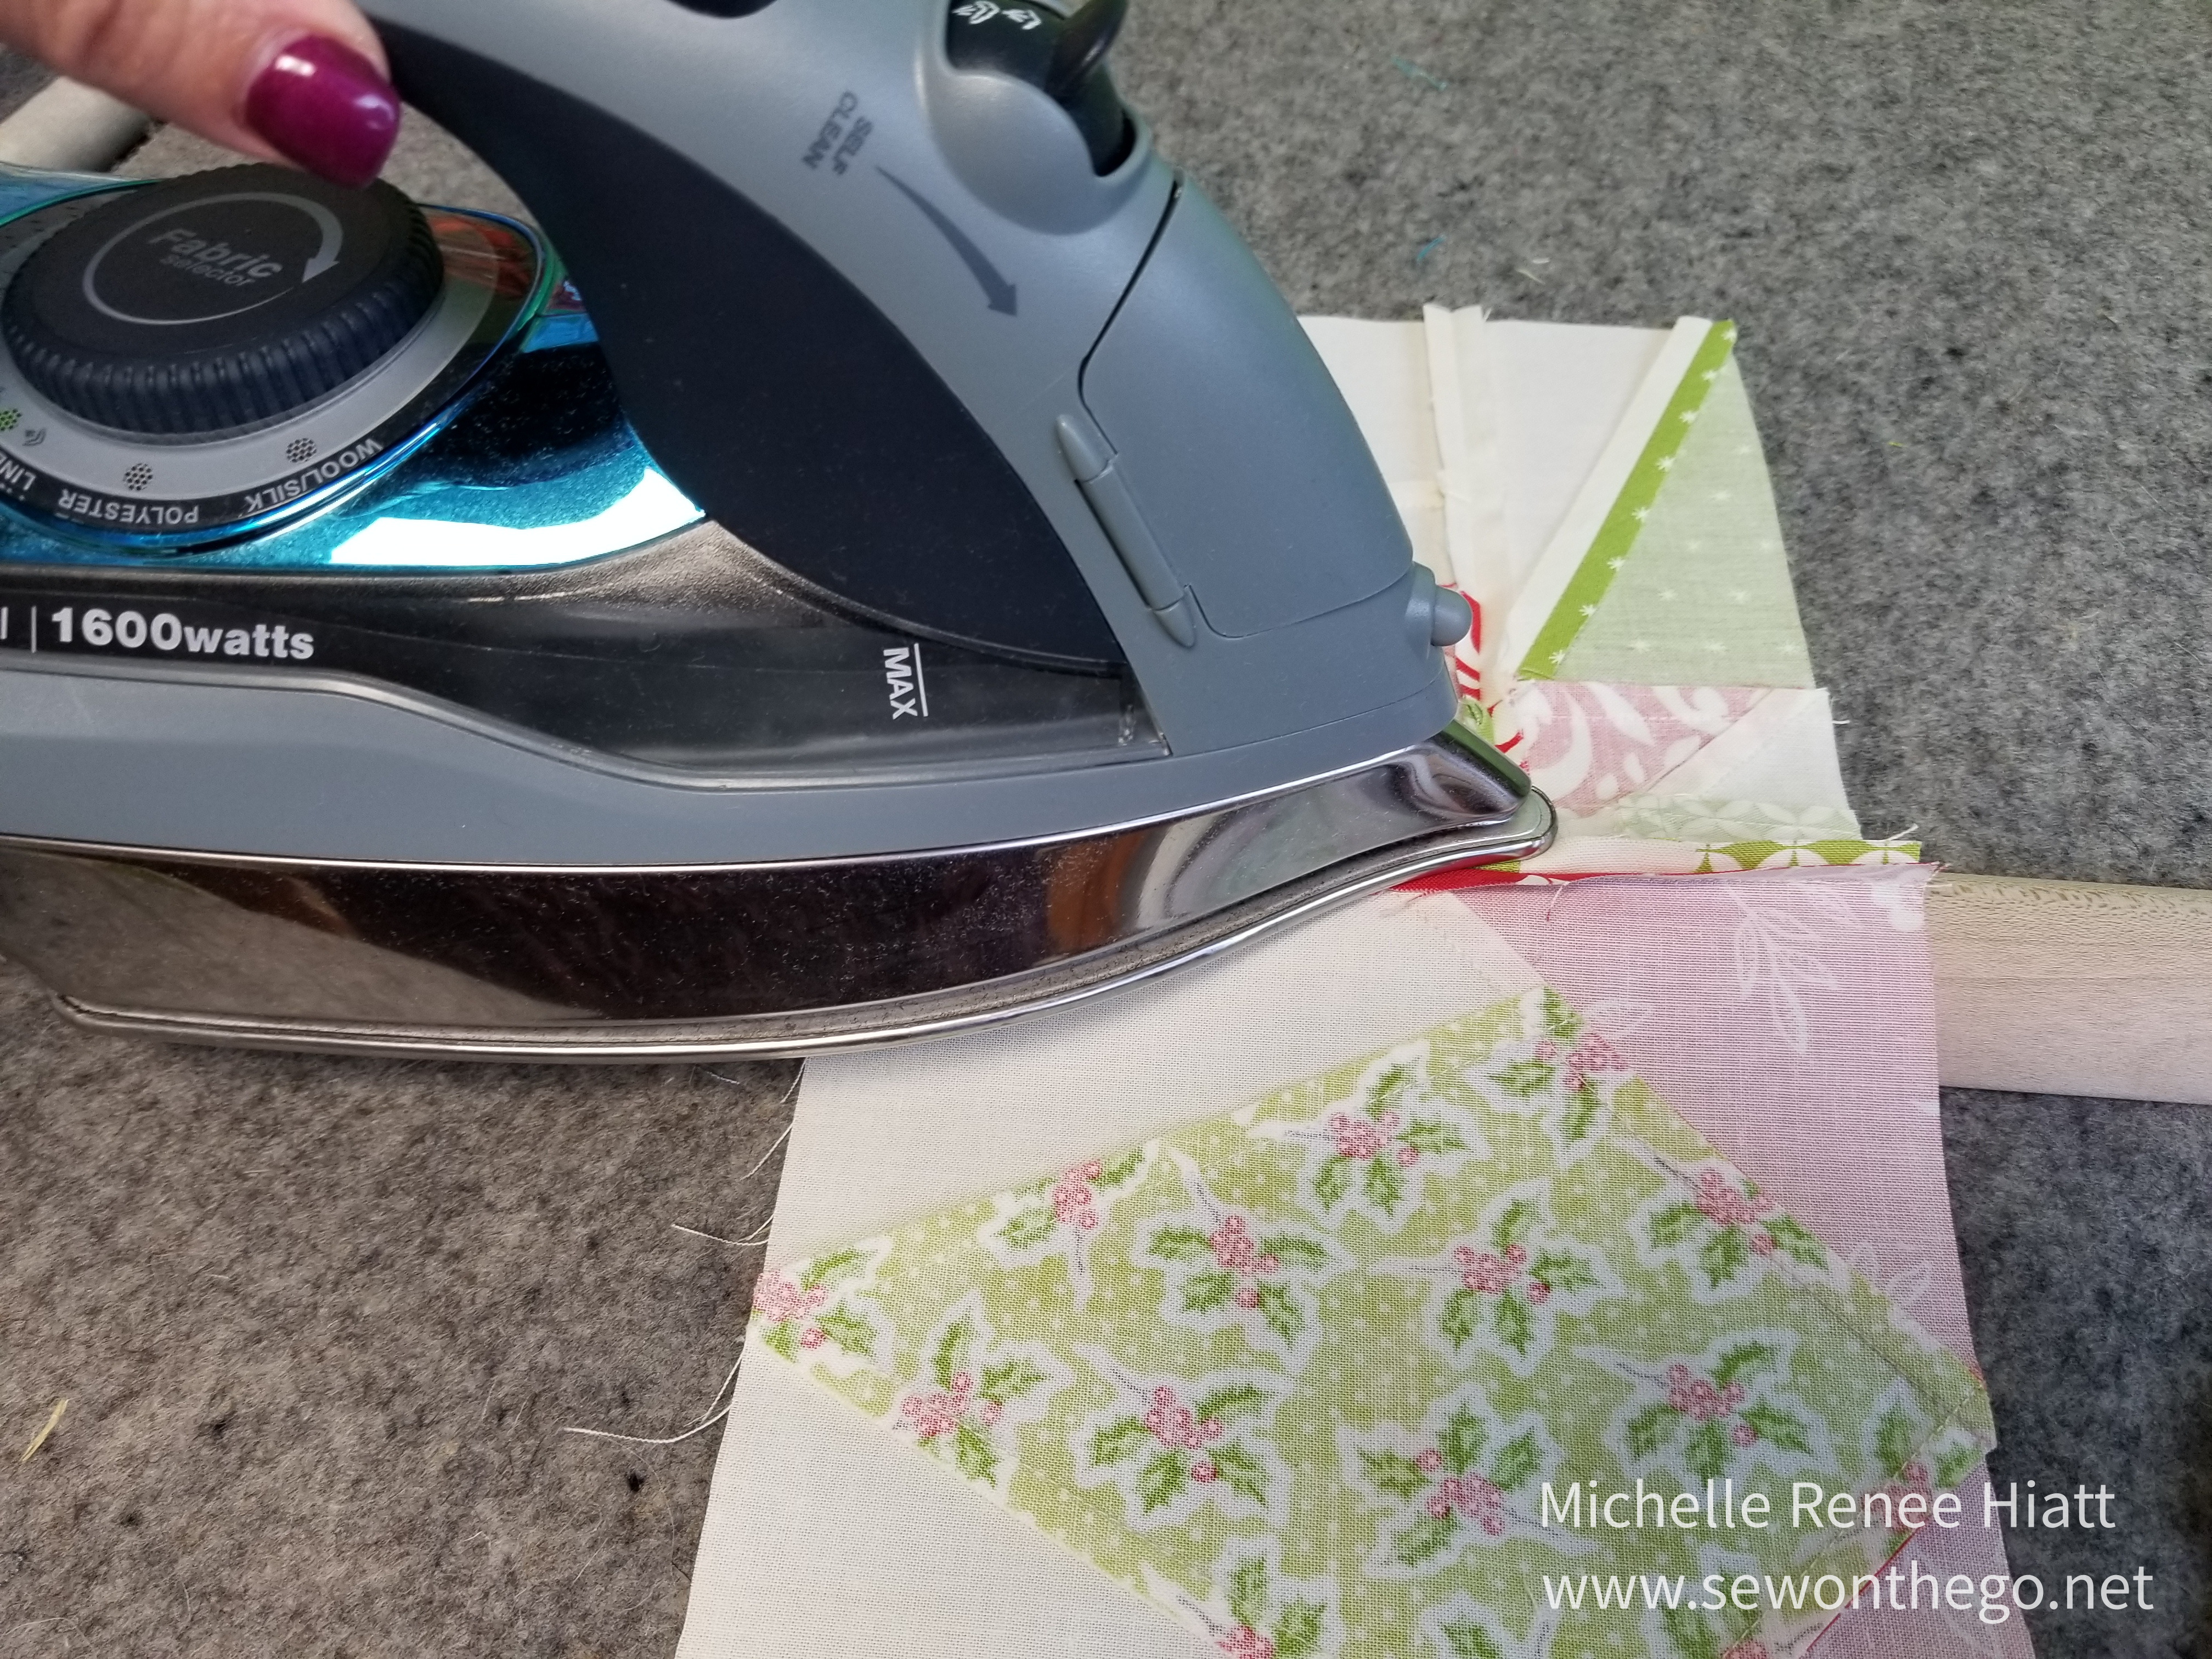
Then press with a good iron. Don't "shove" the fabric. It will get distorted.
|
 |
Then give a nice press on the front and a mist of Best Press.
|
Sew rows into blocks. You will want to precision pin to make sure you line up the center points.
 |
Pin the important point match and double pin the open seams as you bring this block together.
TADA! I'm just thrilled with this! |
 |
Love!
|
Love, Love!
If you love this center, consider taking my Calm Seas class, where you will learn more about precision pinning and color placement. Remember the class has an Early Bird sale until Saturday, the 4th. Use CALMSEAS15 for $15 off the class. You must enter the code at checkout. Enroll here: Calm Seas Class.
That is it for this week. Have a great weekend.
Keep Stitching,
Michelle


Comments
Post a Comment