Preparing Fabric 101
I thought I'd cover some tips on preparing your fabric for cutting. I promised my friend, fellow blogger and Studio 180 Design's CI (Certified Instructor) Jackie O'Brien that I'd post some helpful hints on preparing your fabric after our last CI reunion.
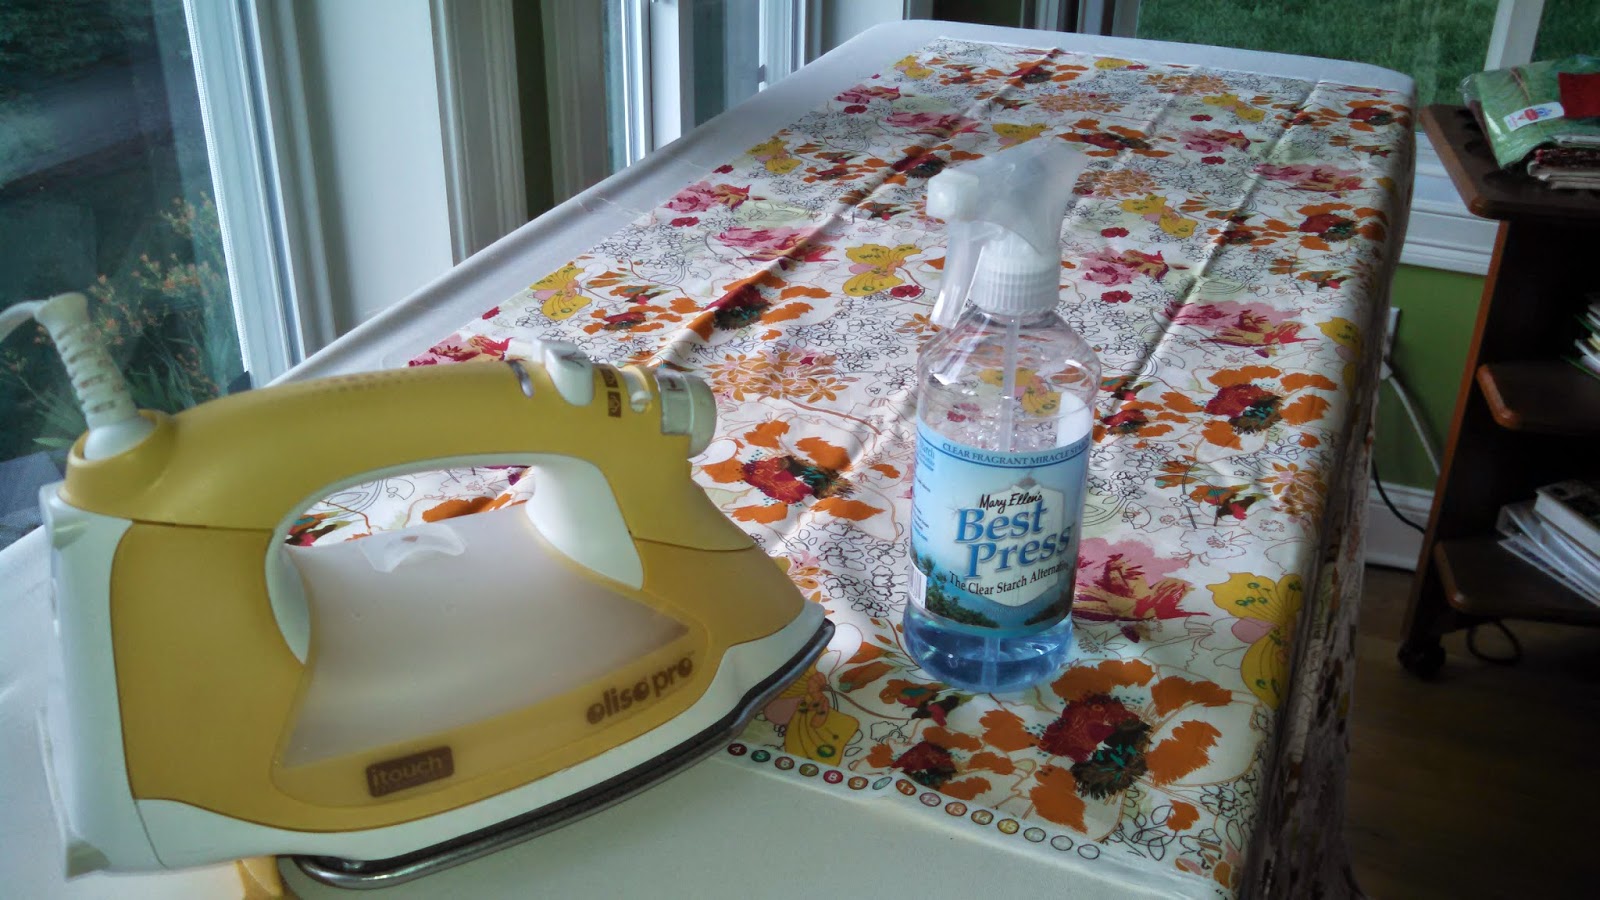
1. Gather your fabric, Mary Ellen's Best Press, your best iron and ironing surface.
For Irons; I recommend Oliso Pro Smart Iron - Yellow or Eurosteam Steam Iron with Boiler Tank & Ceramic Soleplate. Both work great. The Oliso is my current favorite. The proper, most likely high priced iron, will earn its money with the time it will save you.
For Ironing Surface; I recommend a sturdy large surface, with only a layer of Insul-Bright and covered with a neutral canvas. This will give you the best pressing surface. I love my fully constructed Foldaway Big Board. Can be purchased at Nancy's Notions. (update 12/2017 - Or TnT Boards)
2. Lay out your fabric flat, unfolded. I press with the selvages running down my right and left side of my Big Board. I work on what is on the Big Board top, spraying it well with Mary Ellen's Best Press, then ironing it with mid level steam. Make sure you press until the fabric is dry. Keep moving the fabric back, working on each section, until you come to the end.
3. Next, fold the fabric back to selvage to selvage, making sure the fabric is laying flat. Do not attempt to align the cut edges together. The fabric may have come off the bolt incorrectly, therefore your quilt shop may have cut it slightly off kilter. Be more concerned with aligning the selvages and have the width of fabric laying flat and folding without creases. Like before, continue until you've pressed the entire length of the fabric.
4. Fold to a manageable width, while ensuring your pressing efforts weren't for not. I do this by taking my Creative Grids 6 1/2" x 24 1/2" ruler and place it at the top my folded fabric.
Then, fold over, pinching the fabric on the edges, roll the ruler, wrapping the fabric around the ruler.
Roll all the way to the end. Once you have it completed rolled, you can remove the ruler.
5. Next, I work on the rest of the fabric for my quilt. This works on Fat Quarters too.
I like to completely press the fabric for my entire project. Stack it, and then start my cutting.
When I cut, I only unfold what can fit on my cutting board, keeping the rest folded. I find this helps beginners, who tend to get overwhelmed when cutting from a large cut of fabric.
I hope you find my Preparing Fabric 101 tips helpful.


Comments
Post a Comment